🏖️ Photo Wall
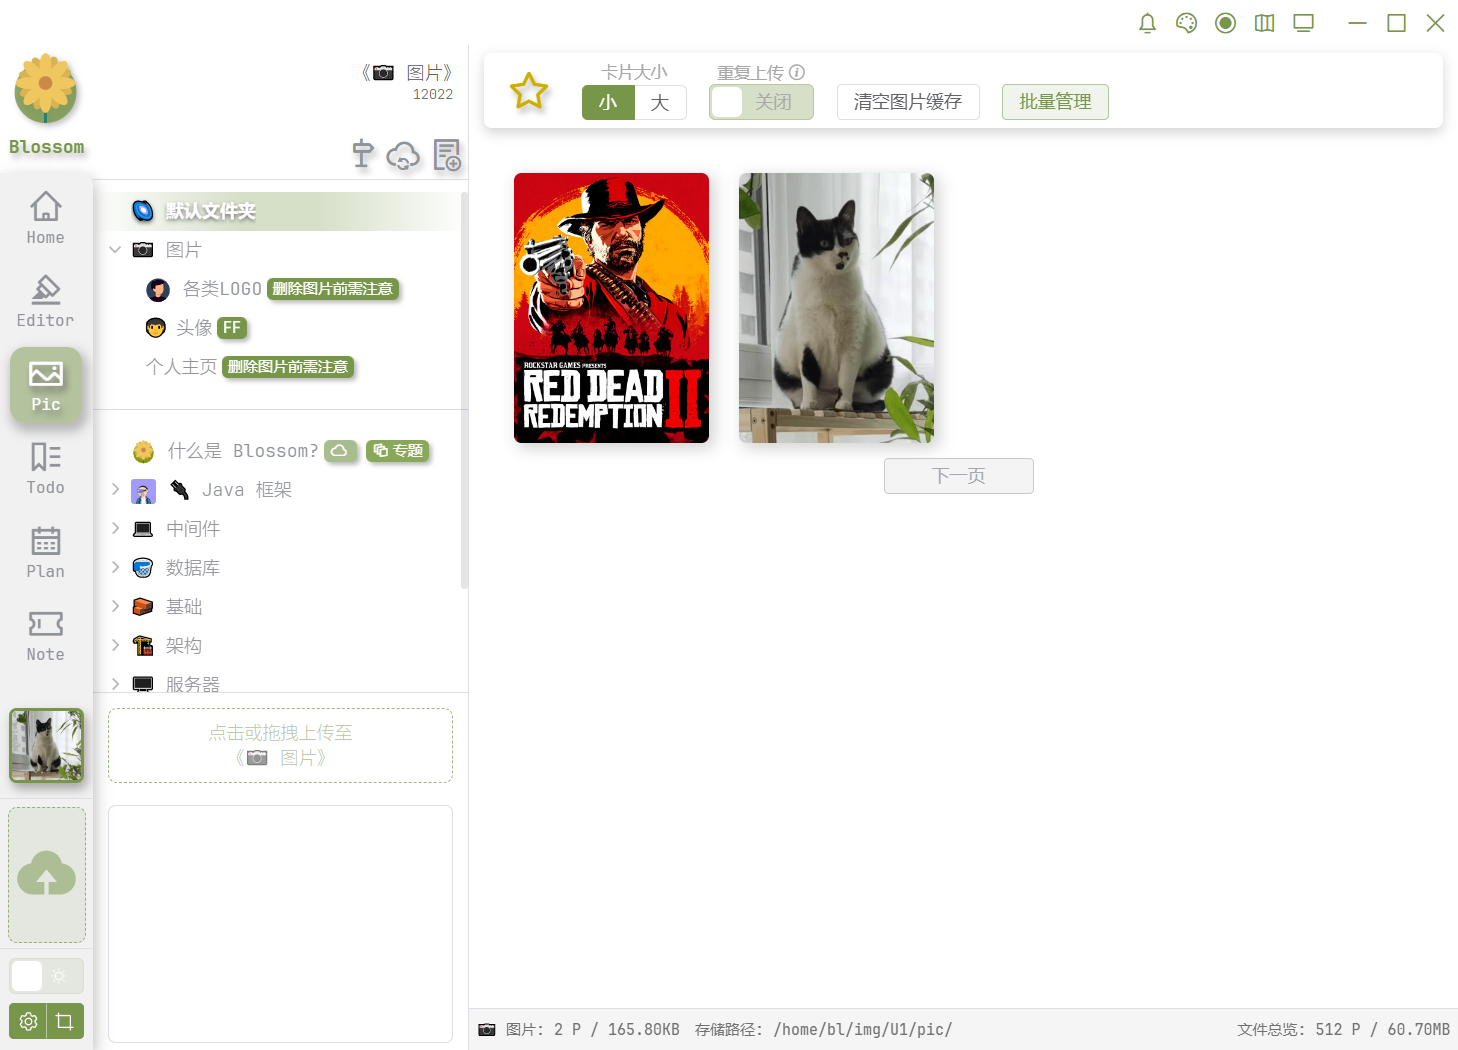
Storing photos has always been a pain point in note-taking. Third-party image hosting services may charge fees, have storage limits, and face audits. Free image hosting services may become unreliable at any time. Moreover, images are scattered across various documents, making it difficult to manage and classify. In case of migration needs, managing images is usually the most headache-inducing problem.
That's why Blossom provides a photo wall feature, eliminating the need for third-party image hosting or the cost of purchasing object storage. You don't need to install any file storage applications on your server. The images are simply stored on your server's disk, and you can download all the images with a single click. In the future, features such as file rate limiting, anti-leeching, temporary access permissions, etc., will be provided to better protect your resources.
Note
Although the upload format for the photo wall is not limited to images, the photo wall is not a network disk. Data uploads do not implement chunked uploads. Uploading excessively large files may occupy bandwidth and server memory, so please assess the file upload size yourself. However, to prevent the accidental upload of excessively large files, the file upload size is limited to 50MB.
Bulk Image Upload
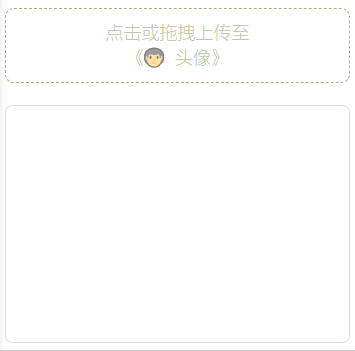
At the bottom of the document list is the bulk upload to the repository. Images can be uploaded in bulk to the currently selected folder.
Toolbar

From left to right:
- Display only favorited images.
- Image card size.
- Repeat image uploads. By default, images with the same name cannot be uploaded repeatedly. Enabling this option disables this control.
- After repeated uploads, refresh the cache to display the latest images.
- Open the toolbar below.
Image Cards

At the bottom of the image are buttons for image operations, from left to right:
- Main information about the image.
- Left-click to copy the image address, right-click to copy the image address in Markdown format.
- Download the image.
- Favorite the image.
- Delete the image.
Below the image are the main details of the image. The last item, "Referenced Articles," lists all articles that have used this image.
To prevent accidental deletion, when an image is referenced in an article, the image cannot be deleted. You need to first remove the reference from the article before deleting the image. You can also choose to force delete in the lower left corner of the full-screen preview, and the system will ignore image reference checks Force Delete.
Preventing accidental deletion only checks in article operations and does not check in public articles. If the image is referenced in a public article version but not in a draft, the image can be deleted. Also, after deleting an image, the image access in public articles will result in an error.
Left Sidebar Image Upload

"🌌 Default Folder" is provided by the system and cannot be deleted. If you have never created any folders and the folder for the article is not specified, then all images will be stored in this folder.
Using Screenshot to Upload Images

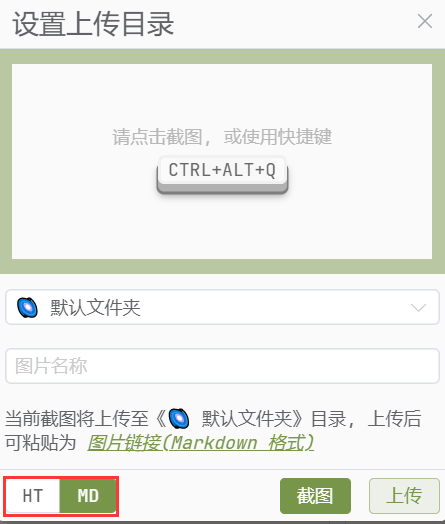
The upper part is the screenshot page, where you can choose the folder for the screenshot to be uploaded, the name of the screenshot, and the format of the text to be pasted after uploading.
The blue box is for pasting after uploading in which format:
HT: Paste as an http link.MD: Paste as a Markdown format link.
If you do not specify the name of the image, a name will be automatically generated.
You can use the shortcut key Ctrl + Alt + Q to take a screenshot, and after taking a screenshot, this page will be automatically brought up.
Tip
If you want to paste as an image, not any text format link, you can paste before uploading. Once you click upload, you cannot paste as an image anymore.
Note
Only Windows systems provide screenshot functionality.
Upload Images in the Editor
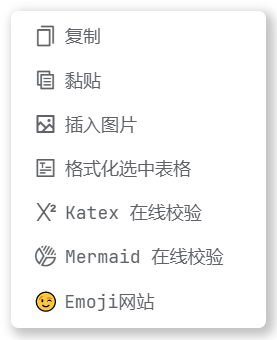
In the editor, you can paste upload, drag and drop upload, or right-click in the edit section to open the menu and select the insert image option for upload. The image will be uploaded to the folder where the article is located.
Full-Screen Preview
Clicking on the image opens a full-screen preview, which includes some basic information and operations on the image, as shown below:
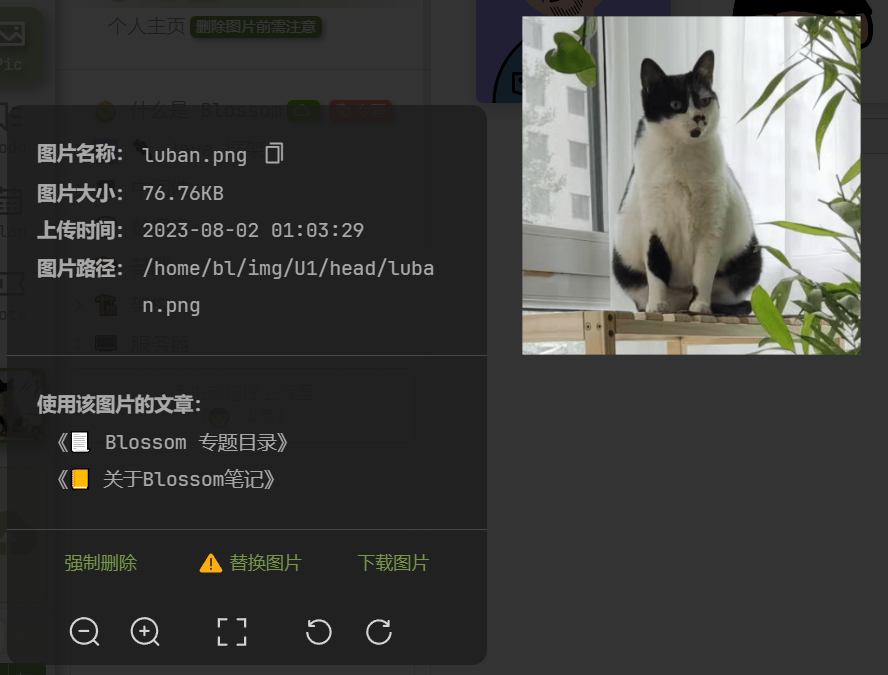
The image information is the same as in the image card, but it provides some quick operation methods:
Force Delete
By default, images cannot be deleted when referenced in an article. You need to first remove the image reference from the article in order to delete the image using the photo wall feature.
It also provides a force delete function, which ignores image reference checks.
Replace Image
If the content of the image is updated, you can replace it here. The newly uploaded image will use the storage address of the original image's name, and the original image will be deleted and cannot be recovered.
