Blossom depends on JDK8 + MySQL8. If you are slow to pull the image, you can also download the image file through [Baidu Netdisk] (../about/download#baidu).
[Optional] Pull the MySQL image and start
If the database is already installed, you can skip this step.
docker pull mysql:8.0.31docker pull mysql:8.0.31Start the image and pay attention to the mounting path, otherwise the data will be lost after the container is deleted.
docker run\
-d \
--name mysql \
#[Optional modification] Database root user’s password
-e MYSQL_ROOT_PASSWORD=jasmine888 \
-p 3306:3306 \
#[Requires modification] Mount the database file saving path.
# Note: Just change the path before the colon to a path on the device where your Docker is located. Do not modify the content after the colon.
-v /usr/local/docker/mysql/data:/var/lib/mysql \
-v /usr/local/docker/mysql-files/log:/var/lib/mysql-files \
-v /usr/local/docker/mysql/log:/var/log/mysql \
mysql:8.0.31
docker run\
-d \
--name mysql \
#[Optional modification] Database root user’s password
-e MYSQL_ROOT_PASSWORD=jasmine888 \
-p 3306:3306 \
#[Requires modification] Mount the database file saving path.
# Note: Just change the path before the colon to a path on the device where your Docker is located. Do not modify the content after the colon.
-v /usr/local/docker/mysql/data:/var/lib/mysql \
-v /usr/local/docker/mysql-files/log:/var/lib/mysql-files \
-v /usr/local/docker/mysql/log:/var/log/mysql \
mysql:8.0.31If you are using Windows, the \ after each line of command may not be recognized, so you need to write the command as one line, as follows:
docker run -d --name mysql -e MYSQL_ROOT_PASSWORD=jasmine888 -p 3306:3306 -v /usr/local/docker/mysql/data:/var/lib/mysql -v /usr/local/docker/mysql-files/ log:/var/lib/mysql-files -v /usr/local/docker/mysql/log:/var/log/mysql mysql:8.0.31docker run -d --name mysql -e MYSQL_ROOT_PASSWORD=jasmine888 -p 3306:3306 -v /usr/local/docker/mysql/data:/var/lib/mysql -v /usr/local/docker/mysql-files/ log:/var/lib/mysql-files -v /usr/local/docker/mysql/log:/var/log/mysql mysql:8.0.31note
If the command is wrong: 1. Please delete the comments in the command. 2. Delete the slash \ after each line. 3. Write all commands on one line.
Create database
Regardless of whether you have installed a database before, you need to create a database in MySQL. The database name needs to be the same as the database name configured with the parameter --spring.datasource.url in the command to start the container. If you do not need to customize the database name, You can create a database directly using the following statement.
CREATE DATABASE `blossom` DEFAULT CHARACTER SET utf8mb4 COLLATE utf8mb4_bin;CREATE DATABASE `blossom` DEFAULT CHARACTER SET utf8mb4 COLLATE utf8mb4_bin;Tips
If you don't know how to create a database, check out How to create a database in Docker.
Pull application image
docker pull jasminexzzz/blossom:latestdocker pull jasminexzzz/blossom:latestStart the application container and pay attention to modifying the content marked with a red background.
docker run -d \
   # Container name
   --name blossom-backend \
   # Specify port mapping
   -p 9999:9999 \
   #[Needs modification] Mount image saving path. If it is a windows environment, you can use /c/home/bl/ to specify the disk
   # Note: Just change the path before the colon to a path on the device where your Docker is located. Do not modify the content after the colon.
   -v /home/bl/:/home/bl/ \
   #Start image name
   jasminexzzz/blossom:latest \
   #[Requires modification] Configure database access address
   --spring.datasource.url="jdbc:mysql://192.168.31.99:3306/blossom?useUnicode=true&characterEncoding=utf-8&allowPublicKeyRetrieval=true&allowMultiQueries=true&useSSL=false&&serverTimezone=GMT%2B8" \
   #[Optional modification] Configure database user name
   --spring.datasource.username=root \
   #[Optional modification] Configure database password
   --spring.datasource.password=jasmine888
docker run -d \
# Container name
--name blossom-backend \
# Specify port mapping
-p 9999:9999 \
#[Needs modification] Mount image saving path. If it is a windows environment, you can use /c/home/bl/ to specify the disk
# Note: Just change the path before the colon to a path on the device where your Docker is located. Do not modify the content after the colon.
-v /home/bl/:/home/bl/ \
#Start image name
jasminexzzz/blossom:latest \
#[Requires modification] Configure database access address
--spring.datasource.url="jdbc:mysql://192.168.31.99:3306/blossom?useUnicode=true&characterEncoding=utf-8&allowPublicKeyRetrieval=true&allowMultiQueries=true&useSSL=false&&serverTimezone=GMT%2B8" \
#[Optional modification] Configure database user name
--spring.datasource.username=root \
#[Optional modification] Configure database password
--spring.datasource.password=jasmine888note
If the command is wrong: 1. Please delete the comments in the command. 2. Delete the slash \ after each line. 3. Write all commands on one line.
The Windows platform cannot recognize the \ after the command, so you need to enter the following command on the console:
docker run -d --name blossom-backend -p 9999:9999 -v /home/bl/:/home/bl/ jasminexzzz/blossom:latest --project.iaas.blos.domain="http://127.0. 0.1:9999/pic/" --project.iaas.blos.default-path="/home/bl/img/" --spring.datasource.url="jdbc:mysql://192.168.31.99:3306/blossom ?useUnicode=true&characterEncoding=utf-8&allowPublicKeyRetrieval=true&allowMultiQueries=true&useSSL=false&&serverTimezone=GMT%2B8" --spring.datasource.username=root --spring.datasource.password=jasmine888docker run -d --name blossom-backend -p 9999:9999 -v /home/bl/:/home/bl/ jasminexzzz/blossom:latest --project.iaas.blos.domain="http://127.0. 0.1:9999/pic/" --project.iaas.blos.default-path="/home/bl/img/" --spring.datasource.url="jdbc:mysql://192.168.31.99:3306/blossom ?useUnicode=true&characterEncoding=utf-8&allowPublicKeyRetrieval=true&allowMultiQueries=true&useSSL=false&&serverTimezone=GMT%2B8" --spring.datasource.username=root --spring.datasource.password=jasmine888warning
Pay attention to modifying the file mounting path of the configuration item -v /home/bl/:/home/bl/, otherwise the saved image information will be deleted when the container is deleted**.
Check Configuration Items
You can enter the following command to check whether the modified configuration items are taking effect in the container logs:
docker logs blossom-backenddocker logs blossom-backendThe various parameters you configured will be displayed at the top of the startup log.

Check if the Application Has Started Successfully
Method One: View Logs
You can enter the following command to check if the container has started successfully in the container logs:
docker logs blossom-backenddocker logs blossom-backendIf the bottom of the log displays the following content, it means the container has started successfully.

Method Two: Direct Access
For example, if you deploy locally, you can access 127.0.0.1:9999. If it returns the following content, it means the deployment was successful. The message indicates that you are not logged in, and you can now log in to use the client.
{
  "code": "AUTH-40101",
  "msg": "Invalid authorization information",
  "ex": "Invalid authorization information",
  "data": null
}
{
"code": "AUTH-40101",
"msg": "Invalid authorization information",
"ex": "Invalid authorization information",
"data": null
}Install the Client and Log In
After successfully deploying, you can use the client to log in. Blossom provides two types of clients:
- Download the PC Desktop Client.
- Use the built-in web client.
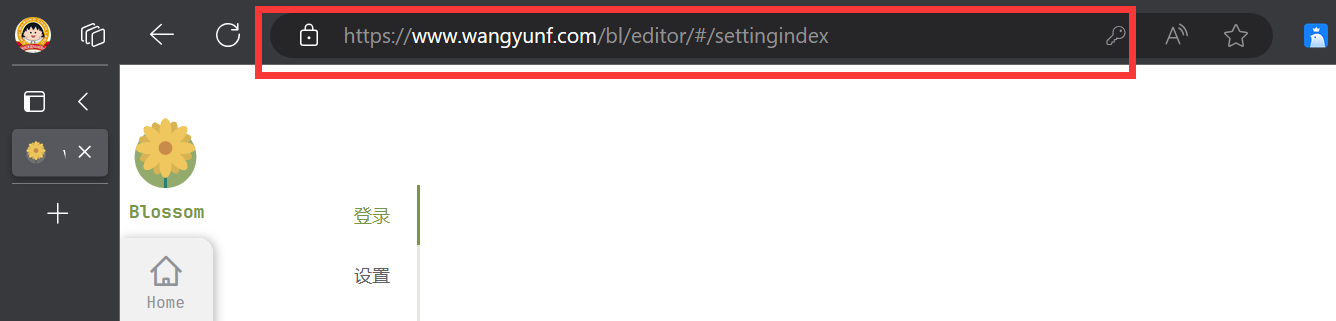
The web client address is:
IP:Port(domain)/editor/#/settingindexFor example, if the IP:Port is
127.0.0.1:9999, visithttp://127.0.0.1:9999/editor/#/settingindexFor example, if the domain is
http://www.abc.com, visithttp://www.abc.com/editor/#/settingindexIf you have configured a reverse proxy path, like
/bl/, visithttp://www.abc.com/bl/editor/#/settingindex
Attention!
This address is for accessing the web, not the login address! Enter it in the browser's address bar!
When you open the client, you will enter the login page.
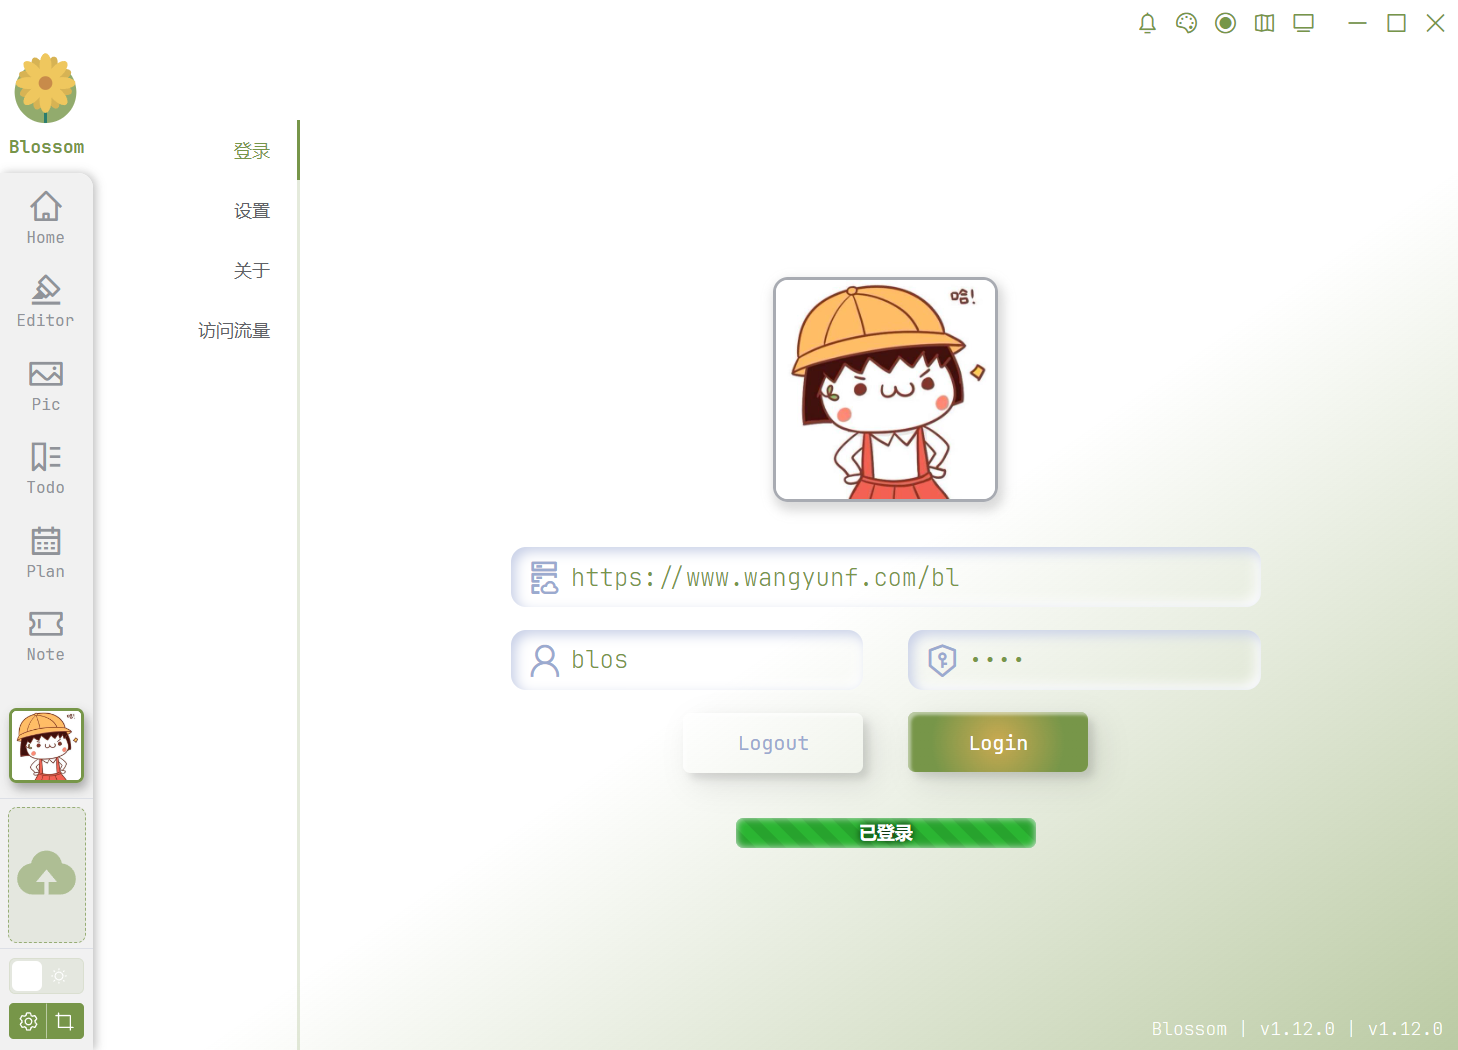
Enter the access address of the backend in the top, then log in using the default username and password.
- Username:
blos, Password:blos
Attention!
The access address does not include /editor/#/settingindex!!!
After logging in, it's recommended to change the default user's username and password to use it as your main account, because the built-in blog part of the backend only supports users with ID 1.
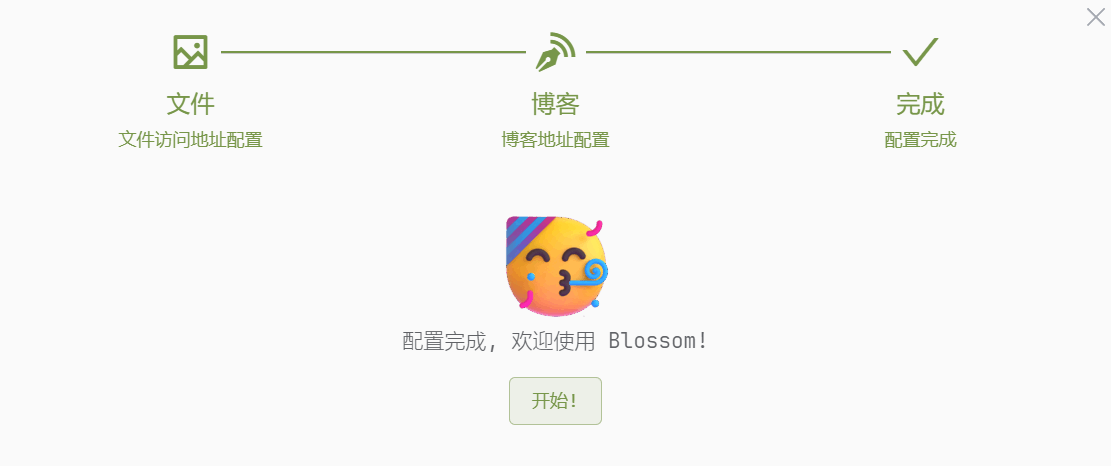
Quick Setup
If you are a first-time user, you will see the following prompt in the upper right corner of the page.
Click on the flashing yellow icon to enter the following page.
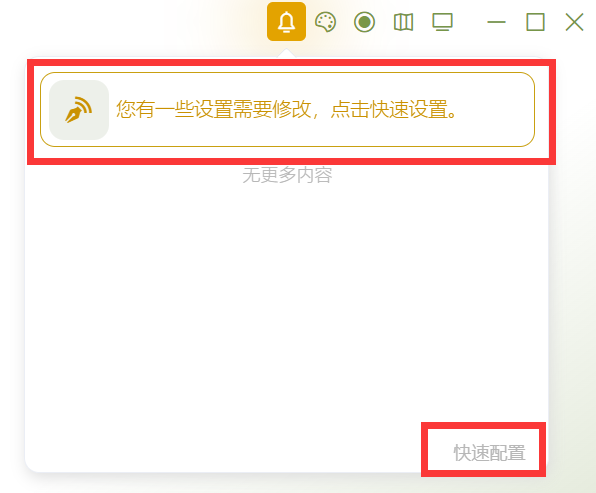
Click on any red box above to start quick configuration.
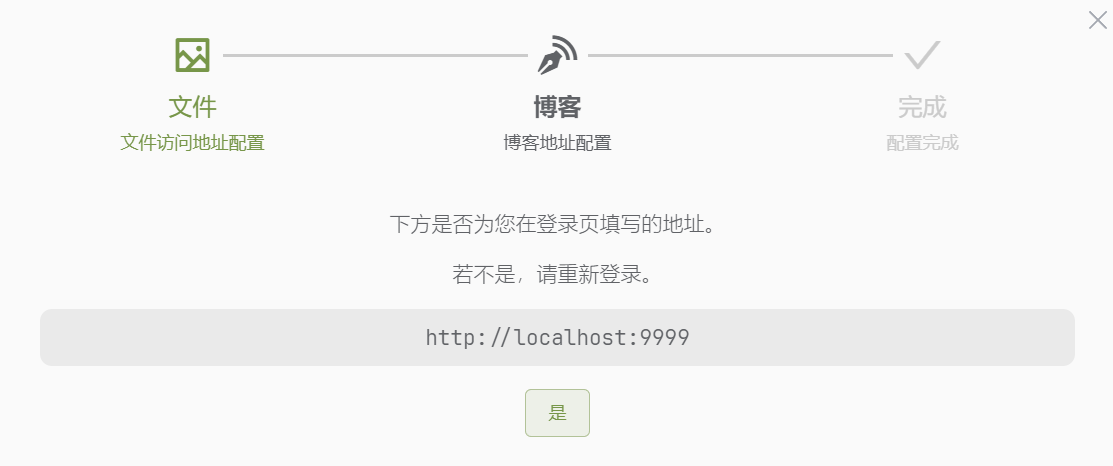
Click on [Yes] to enter the blog configuration.
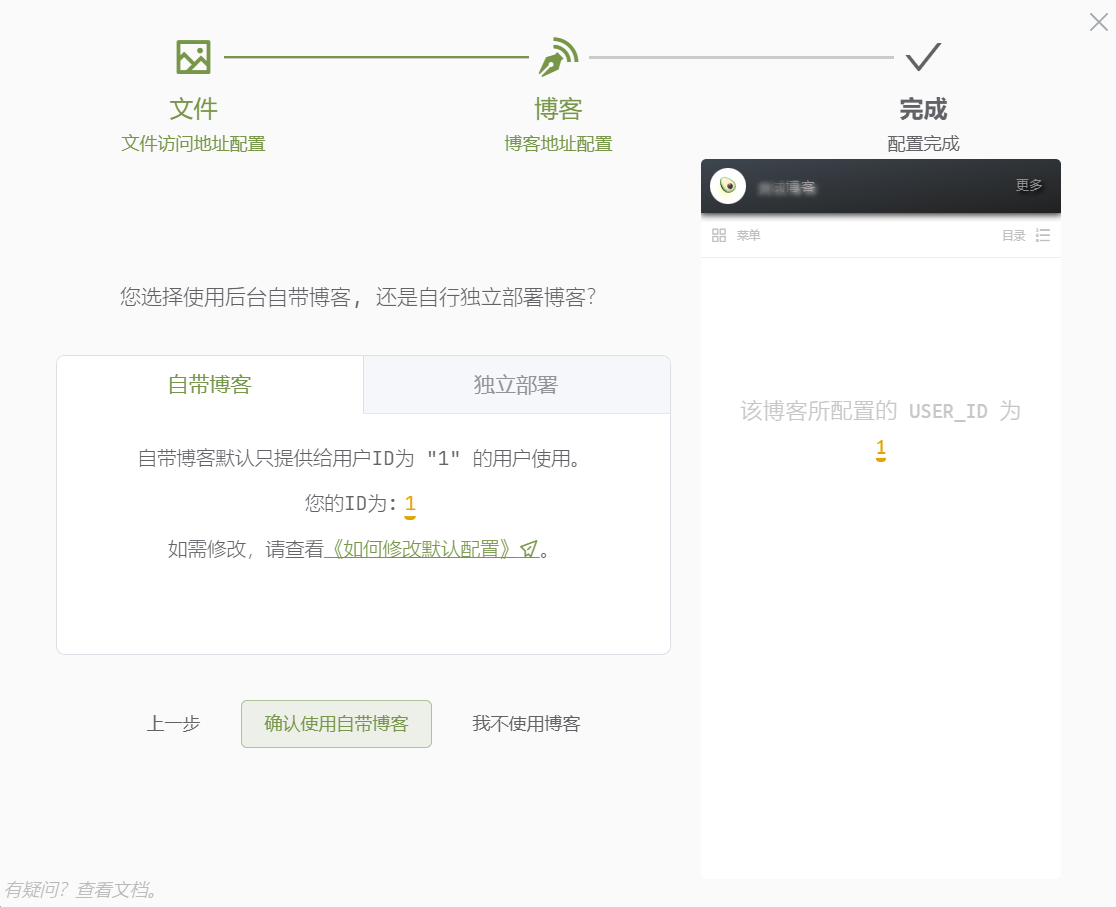
Usually, clicking on [Confirm using the built-in blog] will complete the configuration.
- For more about quick setup features, see Settings.
- For more information about blog configuration, see Blog/Mobile Page.