Blog Deployment

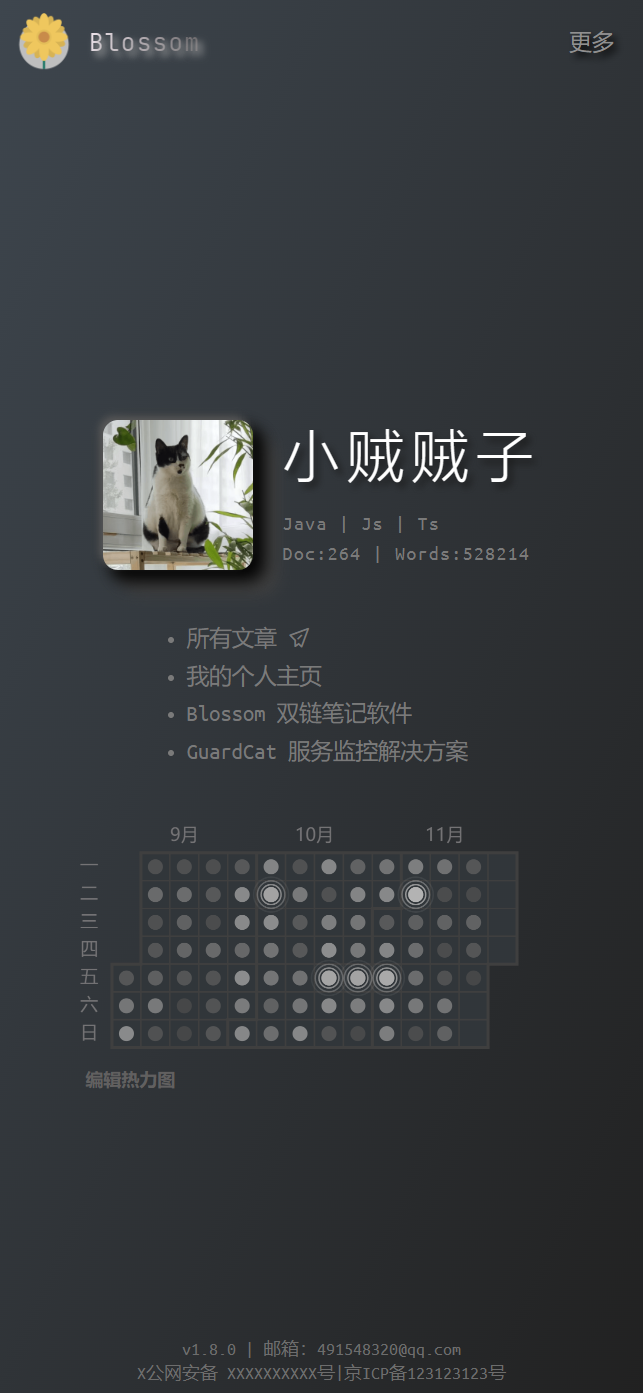
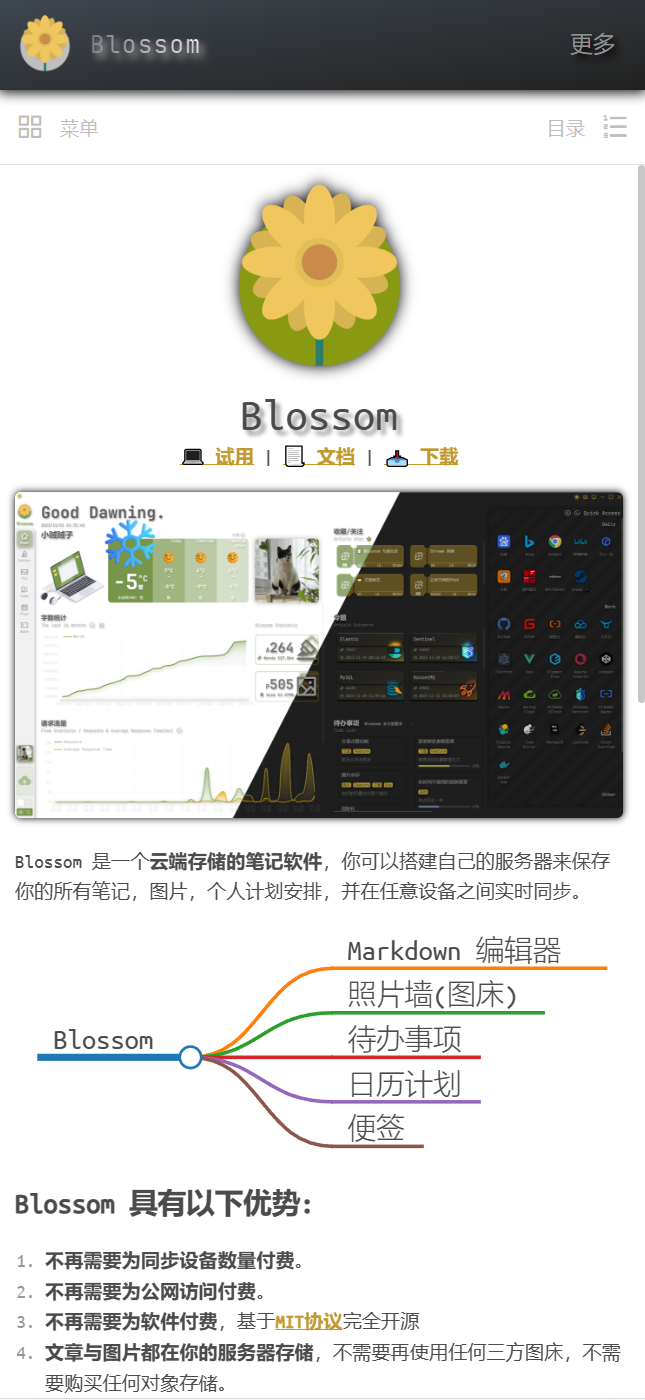
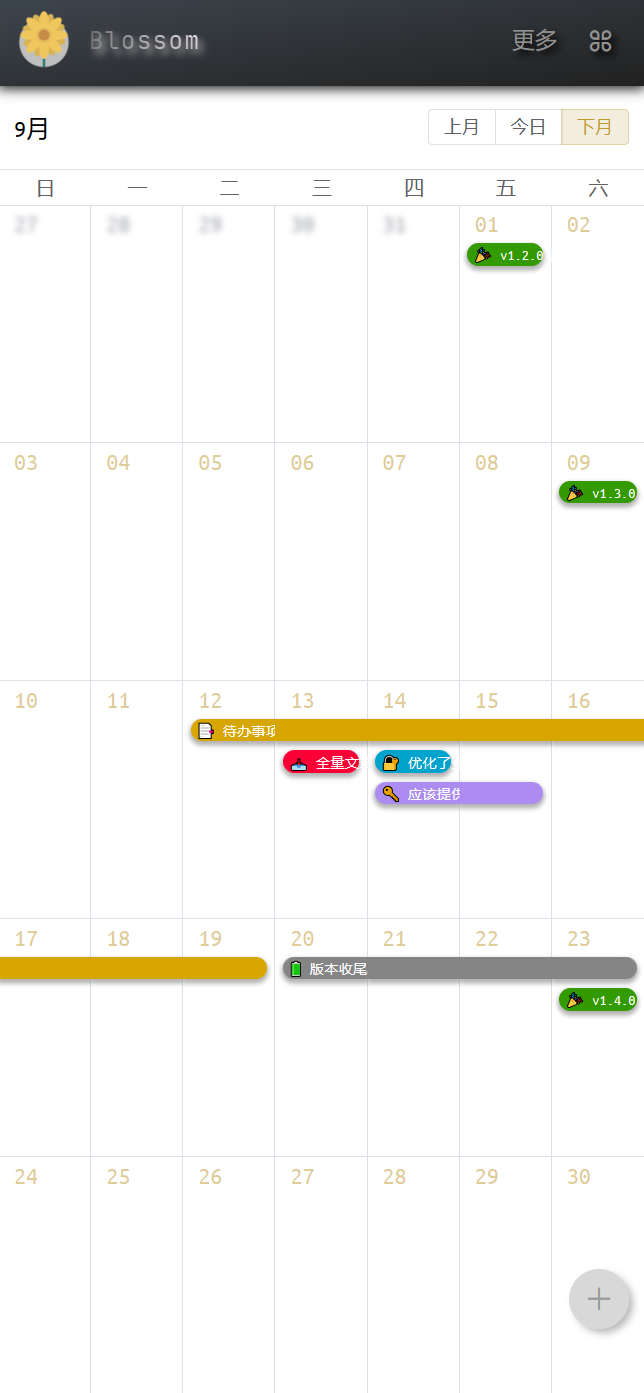
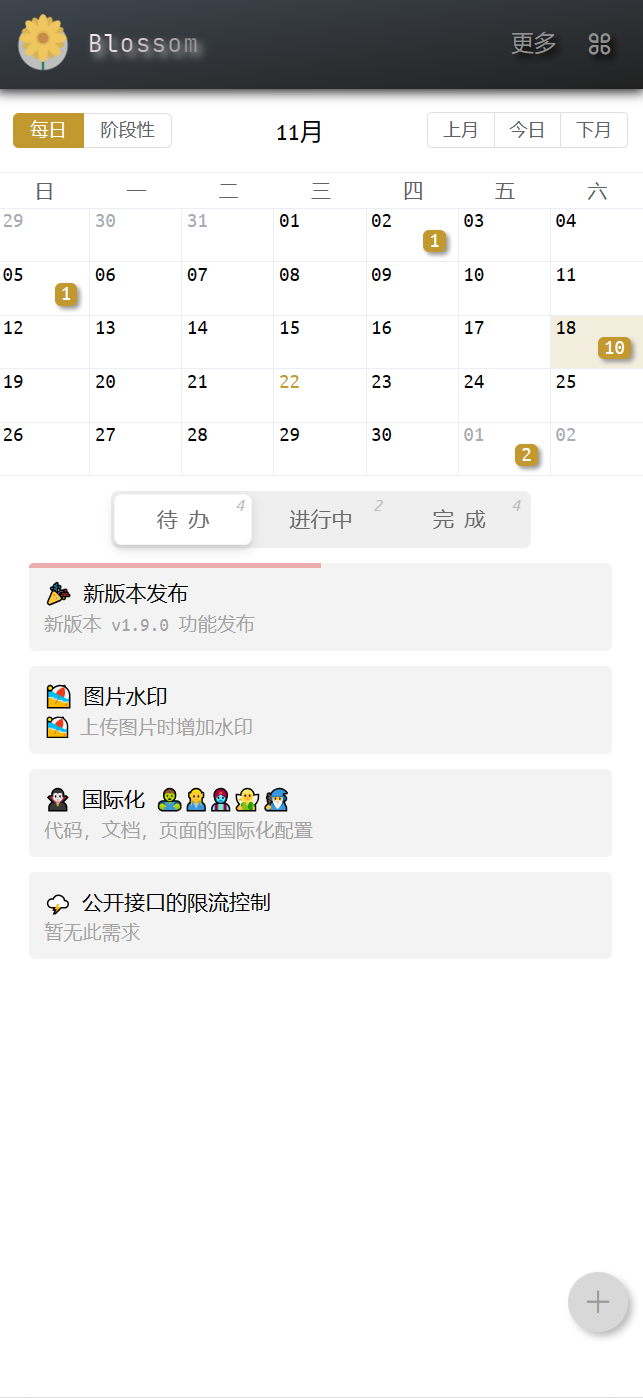
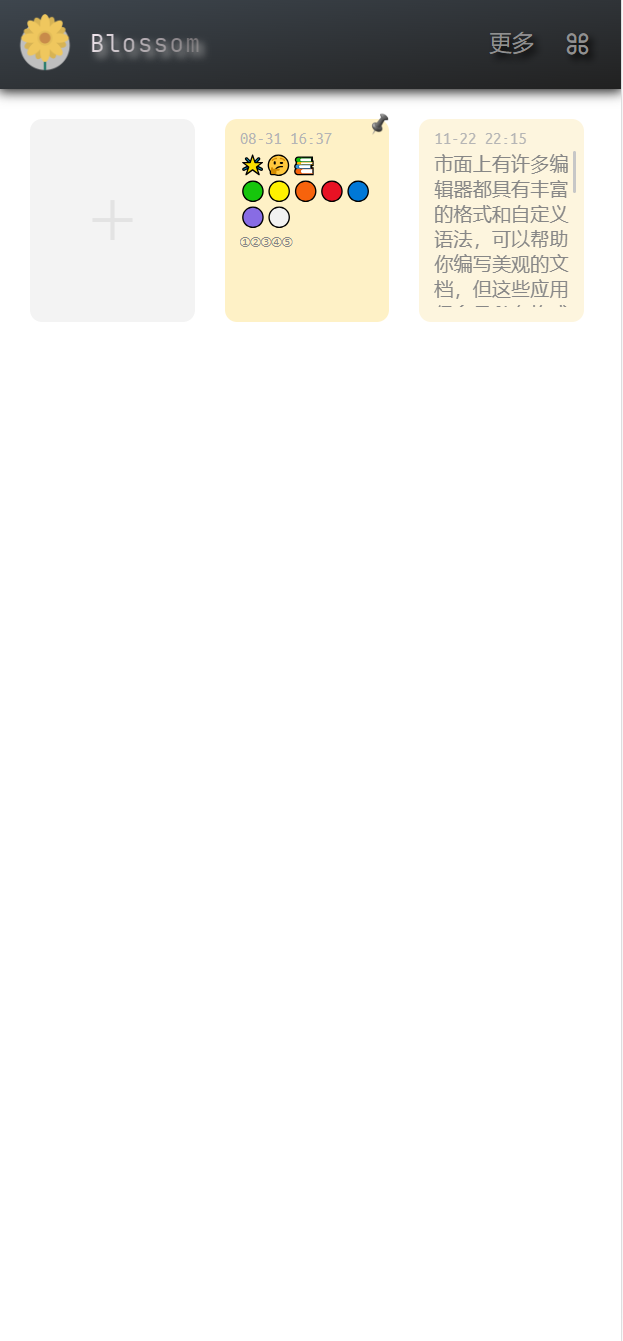
In addition to accessing public articles, the blog also provides access to various functions on mobile devices.
Built-in Blog
Starting from version 1.10.0, the backend deployment comes with a built-in blog page, accessible at:
IP:Port(Domain)/blog/#/homeIP:Port(Domain)/blog/#/homeFor example, if the IP address and port are '192.168.11.11:9999', then you can access the blog at:
http://192.168.11.11:9999/blog/#/homehttp://192.168.11.11:9999/blog/#/homeIf the domain name is 'http://www.abc.com', then you can access the blog at:
http://www.abc.com/blog/#/homehttp://www.abc.com/blog/#/homeIf there is a reverse proxy configured with a path such as /bl/, then you would access the blog using the following URL:
http://www.abc.com/bl/blog/#/homehttp://www.abc.com/bl/blog/#/homeAttention!
The default blog displays public article information for user ID 1, but allows all users to log in to the blog. If you need to modify the default display user, please refer to Modify Blog Configuration below.
Independent Blog Deployment
If multiple users need to use the blog function, separate deployment is required. The blog configuration for each user is independent and can have different logos, blog names, IPC record numbers, and other information.
File Download
Go to the download page to download the blossom-x.y.z-web-blog.zip file.
Proxy Deployment
Unzip blossom-x.y.z-web-blog.zip to the server directory. In this example, the files are extracted to the /usr/local/xzzz/blossom/blog/ path.
Taking Nginx as an example:
# [To be modified] Configure client resource access path
location /blossom-blog/ {
        # [To be modified] Path where configuration resources are located
        alias                   /usr/local/xzzz/blossom/blog/;
        try_files               $uri $uri/ /index.html;
        index                   index.html index.htm;
        gzip                    on;
        gzip_buffers            32 4k;
        gzip_comp_level         6;
        gzip_min_length         100;
        gzip_types              application/javascript text/css text/xml font/ttf font/otf image/svg+xml;
        gzip_disable            "MSIE [1-6]\.";
        gzip_vary               on;
}
# [To be modified] Configure client resource access path
location /blossom-blog/ {
# [To be modified] Path where configuration resources are located
alias /usr/local/xzzz/blossom/blog/;
try_files $uri $uri/ /index.html;
index index.html index.htm;
gzip on;
gzip_buffers 32 4k;
gzip_comp_level 6;
gzip_min_length 100;
gzip_types application/javascript text/css text/xml font/ttf font/otf image/svg+xml;
gzip_disable "MSIE [1-6]\.";
gzip_vary on;
}Prompt
The complete Nginx example can be viewed: How to configure Nginx
Modifying Blog Configuration
After decompressing the file, there will be a 'config. js' file under the decompression path, which can be modified for personalized configuration.
Prompt
If deployed through Docker, you can make modifications by mounting files. You need to add the following configuration in the Docker run command:
# Change the section before the colon (:) to a path on the device where you are running Docker, without modifying the content after the colon.
-v /d/blossom/dev/config.js:/application/BOOT-INF/classes/static/blog/config.js
# Change the section before the colon (:) to a path on the device where you are running Docker, without modifying the content after the colon.
-v /d/blossom/dev/config.js:/application/BOOT-INF/classes/static/blog/config.jsIf using Docker Compose deployment, it needs to be added at the location shown below:
services:
  blossom:
    image: jasminexzzz/blossom:latest
    container_name: blossom-backend
    volumes:
      - /d/blossom/bl/:/home/bl/
      # Add to this location
- /d/blossom/dev/config.js:/application/BOOT-INF/classes/static/blog/config.jsservices:
blossom:
image: jasminexzzz/blossom:latest
container_name: blossom-backend
volumes:
- /d/blossom/bl/:/home/bl/
# Add to this location
- /d/blossom/dev/config.js:/application/BOOT-INF/classes/static/blog/config.jsThen create the config.js file in the corresponding directory, and then copy the [Configuration File Content] (./blog#config-content) below to the file.
Configuration file content
Modify the content marked with a red background below。If you need to mount the config.js file in Docker, please copy the following content into the file.
Important changes
In version v1.12.0, various blog configurations are already supported through the client. [Go to View] (../setting#blog).
In version v2.0.0, the configuration items in the configuration file will be removed, so it is recommended that you use the client configuration method early.
window.blconfig = {
  SYS: {
    // Modifying this value can change the name of the top left corner of the webpage
    NAME: 'Blossom',
    // Public network security number(only Chinese need)
    GONG_WANG_AN_BEI: '',
    // ICP Record number(only Chinese need)
    ICP_BEI_AN_HAO: '',
    // E-mail
    EMAIL: ''
  },
  THEME: {
    LOGO_STYLE: {
      // Rounding settings for the logo in the upper left corner
      'border-radius': '50%'
    },
    // Is the theme folder displayed in a special style
    SUBJECT_TITLE: true
  },
  DOMAIN: {
    // You must modify this item if you deploy the blog independently
    // No need to modify if mounted as the built-in blog configuration for the backend
    // Fill this value with your backend access address, which should be the same as the address entered on the Blossom client login page
    PRD: 'http://localhost:9999',
    // Fill this value with the user ID that you want to open the blog for
    USER_ID: 1
  },
  /**
   * You can fill in your own website information, which will be displayed in the 'More' button at the top right corner, and under 'All Articles' on the homepage
   * NAME: Website name
   * URL: Website address
   * LOGO: Website logo address
   */
  LINKS: [
    // Below is an example
    // {
    //   NAME: 'Blossom Dual-Chain Note Software',
    //   URL: 'https://www.wangyunf.com/blossom-doc/index.html',
    //   LOGO: 'https://www.wangyunf.com/bl/pic/home/bl/img/U1/head/blossom_logo.png'
    // }
  ]
}
window.blconfig = {
SYS: {
// Modifying this value can change the name of the top left corner of the webpage
NAME: 'Blossom',
// Public network security number(only Chinese need)
GONG_WANG_AN_BEI: '',
// ICP Record number(only Chinese need)
ICP_BEI_AN_HAO: '',
// E-mail
EMAIL: ''
},
THEME: {
LOGO_STYLE: {
// Rounding settings for the logo in the upper left corner
'border-radius': '50%'
},
// Is the theme folder displayed in a special style
SUBJECT_TITLE: true
},
DOMAIN: {
// You must modify this item if you deploy the blog independently
// No need to modify if mounted as the built-in blog configuration for the backend
// Fill this value with your backend access address, which should be the same as the address entered on the Blossom client login page
PRD: 'http://localhost:9999',
// Fill this value with the user ID that you want to open the blog for
USER_ID: 1
},
/**
* You can fill in your own website information, which will be displayed in the 'More' button at the top right corner, and under 'All Articles' on the homepage
* NAME: Website name
* URL: Website address
* LOGO: Website logo address
*/
LINKS: [
// Below is an example
// {
// NAME: 'Blossom Dual-Chain Note Software',
// URL: 'https://www.wangyunf.com/blossom-doc/index.html',
// LOGO: 'https://www.wangyunf.com/bl/pic/home/bl/img/U1/head/blossom_logo.png'
// }
]
}Log in to the Blog
You can navigate to the blog's login page by clicking on the logo at the top left corner more than 7 times consecutively. Most of the functionalities and interaction logic in the blog are designed to adapt to mobile device screens.
Prompt
The complete Nginx example can be viewed: How to configure Nginx
Configure the Blog Address on the Client Side
You can refer to the Quick Configuration.